A good cheese board starts before you buy the grapes. The real first decision is what job the board has to do.
Is it a snack before dinner, the main event at a party, or a small board for drinks? That one answer decides how much cheese you need, how many varieties make sense, and how crowded the board should be.
In This Article
What Should You Decide Before Shopping for a Cheese Board?
A board for four people with drinks is not the same thing as a board replacing dinner for eight. Most overstuffed boards start with the wrong shopping plan, not the wrong knife.
Set the guest count and the meal role first. Then size the cheese, crackers, fruit, and condiments around that plan instead of improvising in the aisle.
Count what else is on the table while you do it. A board landing before a full dinner needs less per person than one standing in for the meal, so the same guest number can call for very different amounts.
As a shopping starting point, Beringer suggests about 2 ounces of cheese per person for an appetizer, or 3 to 4 ounces when the board is the main event. These are hosting estimates, not dietary serving recommendations, and refer to all the cheeses combined.
For six appetizer guests at 2 ounces each, that is 12 ounces in total, about 340 g. Three equally sized cheeses would be about 4 ounces, or 113 g, each, but you can buy more of a known favourite and less of an unfamiliar one.
If the board is truly cheese-first, let the cheeses carry most of the flavor. A texture-first cheese lineup for boards helps choose the actual lineup.
If cured meats are meant to carry half the flavor, that becomes a different job closer to meat-led charcuterie balance.
Board size follows from the same count. Cheeses need a hand's width between them for anyone to cut cleanly, so five wedges crammed onto a small round serve a group worse than the same five spread across a plain baking sheet lined with parchment.
Which Textures Should You Choose for a Cheese Board?
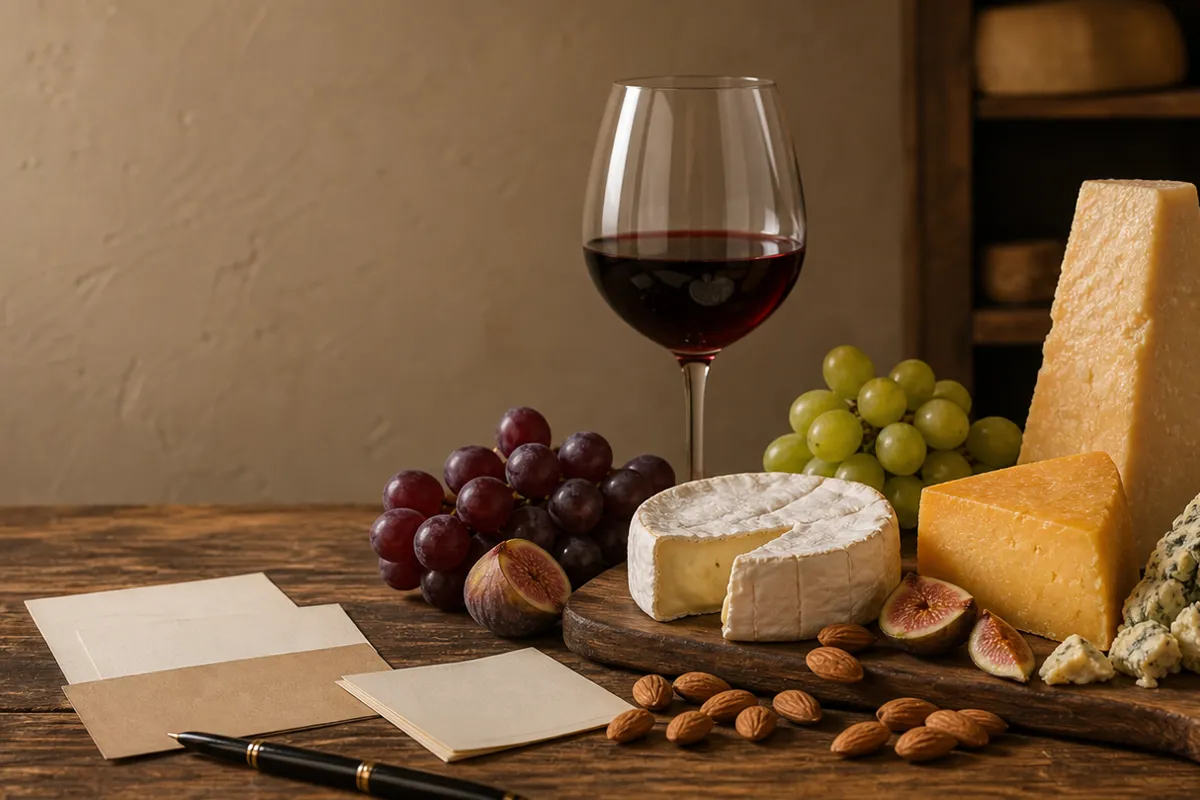
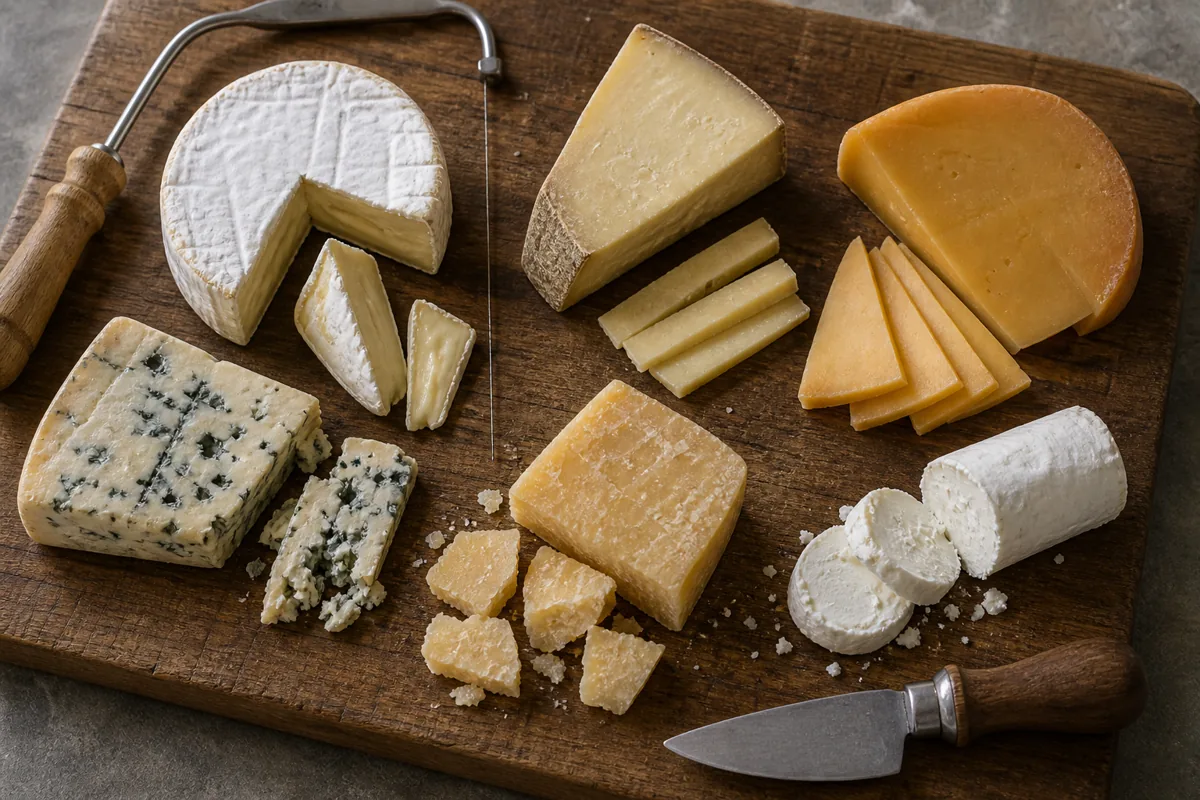
A soft cheese, a firm slicer and a crumbly aged cheese give guests different textures. A blue or washed-rind cheese can add stronger flavour if your guests enjoy it.
That is why you rarely need seven cheeses. Variety on a board comes from contrast, not from volume.
- Soft role: easy starting point and spreadability from cheeses like bloomy-rind Brie, smaller soft-rind Camembert, or fresh goat cheese
- Firm role: clean slices and a firmer bite from cheeses like semi-firm Gouda, supple Fontina, or firm sheep's-milk Manchego
- Aged role: salt and savory depth from a shard-friendly wedge like Parmigiano-Reggiano
- Contrast role: a sharper turn from a salty blue cheese or a stronger goat cheese so the board does not taste flat
If the crowd is cautious, soften the contrast instead of removing it. A gentler blue or a mild washed-rind option still gives the board movement without scaring people off.
It also keeps you from buying three cheeses that all chew and taste alike. Too much sameness is a bigger board problem than not owning the fanciest wedge in the shop.
Texture carries contrast further than strength does. A soft anchor beside a hard aged wedge reads as range even when both are mild, while two assertive cheeses that both crumble land as one loud note.
If you do not know whether guests enjoy the stronger cheese, buy a smaller piece. Familiar favourites can make up more of the total without making the board less varied.
Color does some of the work before anyone tastes anything. A white goat log, a golden firm wedge, and a blue-veined piece tell a guest at a glance that these are three different things.
Why Should You Place the Cheese Before Everything Else?
Cheese goes on the board before crackers, fruit, or jam. Once you reverse that order, the board usually turns into a clutter problem.
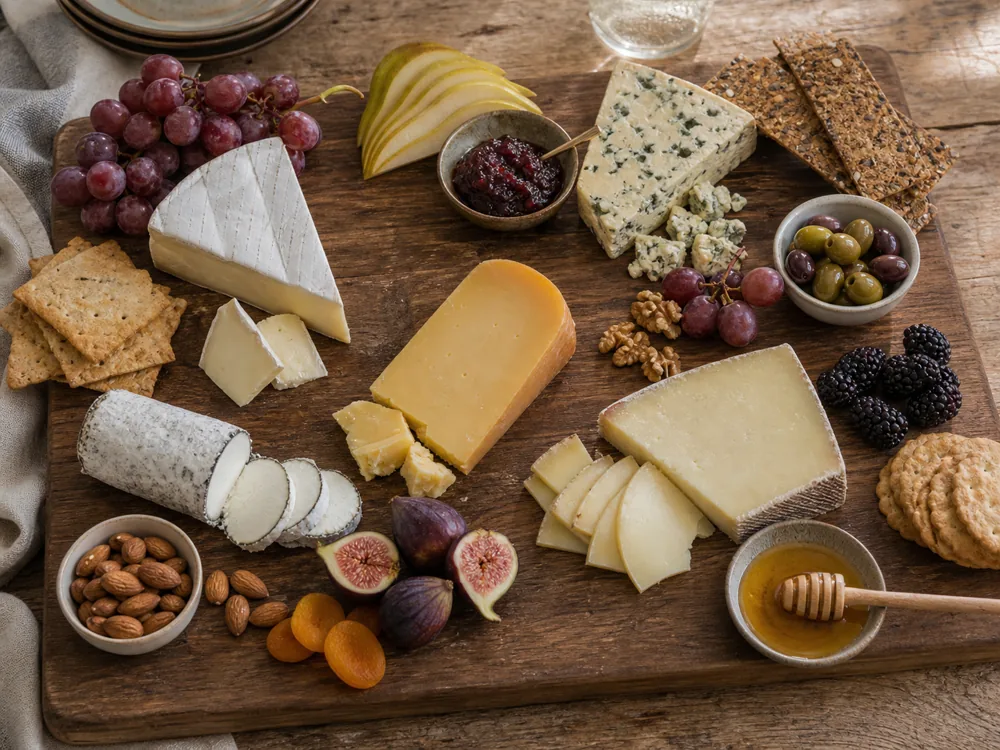
Put the cheeses down, leave breathing room, and make the accompaniments serve the cheese shapes instead of hiding them.
Treat the gaps as a budget. Set the cheeses with visible space around each one and spend that space deliberately, because filling it takes seconds and clawing it back means unloading half the board.
Turn the cut faces outward as you place them. A wedge whose open face meets the near edge invites the first slice, while one facing the middle makes every guest reach across everything else to get at it.
If the board feels too full before the fruit even arrives, remove a cheese or move to a bigger board.
Three cheeses can be enough for a small gathering, but there is no required count or odd-number rule. Choose a board or several platters with enough room for the pieces you plan to serve.
What Prep Moves Make Guests Actually Use the Board?
Boards fail when people do not know where to start. A perfect cheese lineup still stalls if the first guest has to wrestle a whole wheel with the wrong knife.
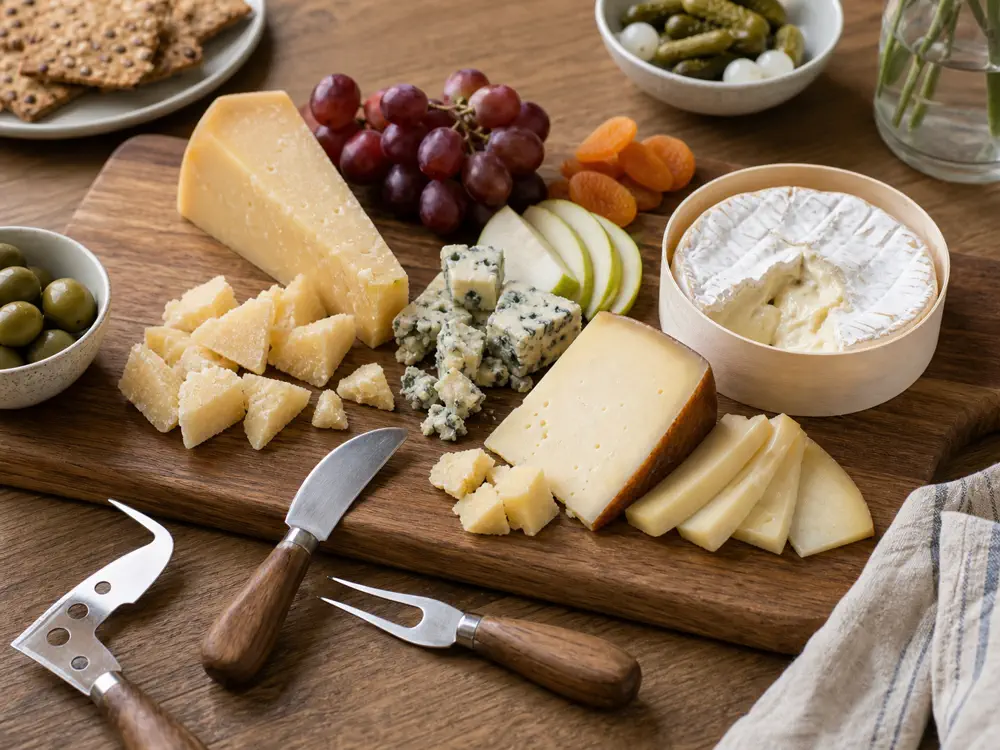
Pre-cutting a starter piece from each cheese, setting out separate knives, and making the soft cheeses readable matter more than expensive garnish.
These prep moves also protect the nice cheeses from turning into a mess too early. Guests are more likely to try the unfamiliar wedge when the board tells them how.
Lay each knife against the cheese it belongs to. A tool resting on its own wedge says which cheese it is for without a label, and a tidy row of them reads as permission to start cutting.
If one cheese is especially crumbly or runny, give it extra space and its own tool before you do anything decorative. Clean access beats pretty crowding every time.
How Do You Support the Board Without Crowding It?
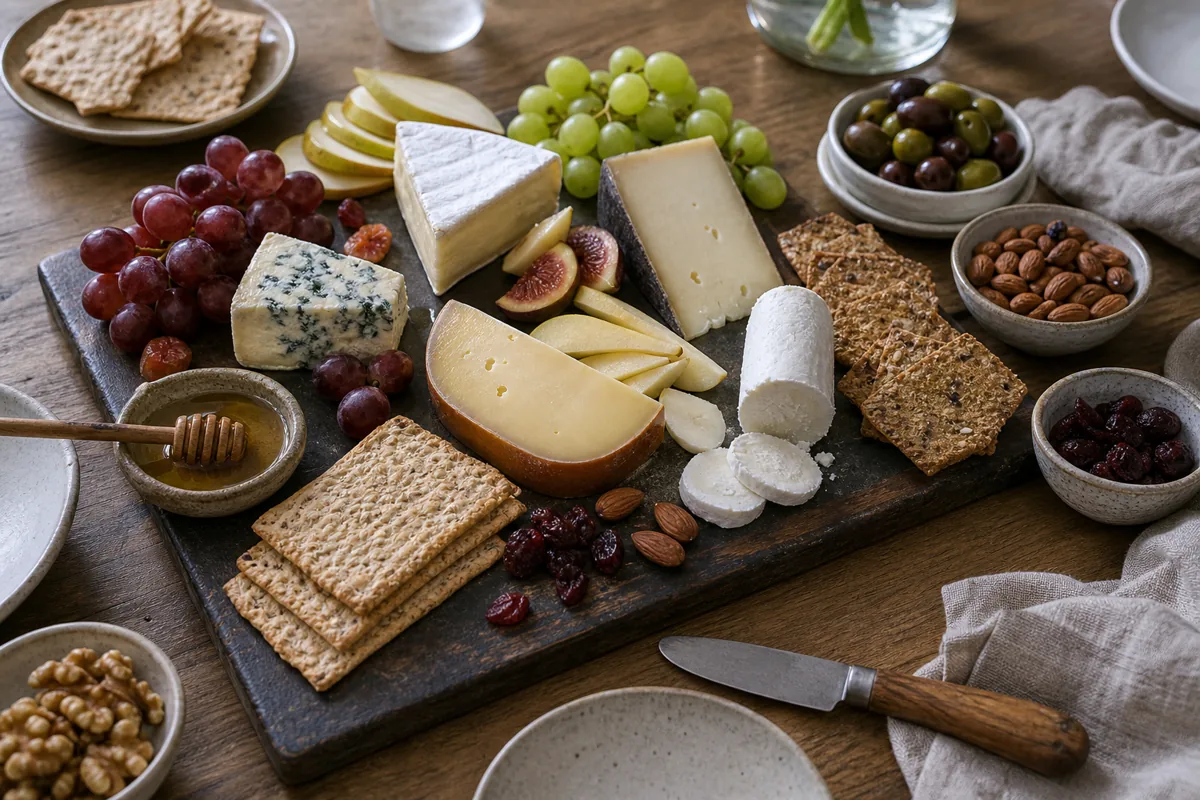
Most boards need fewer accompaniments than hosts think. Bread or crackers, one fresh fruit, one dried fruit or nut, and one condiment already do enough in most homes.
Accompaniments should widen the possible bites, not become the main visual event. If the board reads as crackers first and cheese second, the balance is off.
Keep juicy fruit away from crackers and put olives or runny condiments in small bowls. That leaves the crisp items dry and makes the wet ingredients easier to serve.
- Crunch: neutral crackers, seeded crackers, or sliced baguette
- Freshness: grapes, pear, apple, or cucumber if the board is very rich
- Sweet support: fig jam, honey, or dried apricots
- Sharp reset: cornichons or olives only when the board can handle salt and acid
Cut the cracker count before you cut the cheese count. Two kinds of crunch cover every cheese on the board, and a third box mostly eats the room the wedges needed to stay reachable.
This is another place where a cheese board and a charcuterie board split apart. Once cured meat takes over the flavor pressure, the support choices shift too.
You can also borrow specific pairing ideas from a single-cheese page when one cheese is clearly the star. For example, goat-cheese pairing ideas help more than generic fruit advice when the board leans hard into tangy fresh chevre.
How Should You Handle Serving Time and Leftovers?
Under FDA's household buffet guidance, discard perishable food left at room temperature for more than two hours, or one hour above 90°F (32°C). Keep cold food at 40°F (4°C) or below when holding it for longer service.
Count time spent preparing, tempering and serving together. For example, 30 minutes spent assembling a perishable board uses part of the two-hour window, rather than starting a separate clock when guests arrive.
Prepare small portions and keep backups refrigerated. Replace a nearly empty platter with a fresh one instead of adding new food to what has already been sitting out.
Refrigerate safely handled leftovers promptly within the applicable time limit. Trimming a dried edge or chilling the cheese again does not make an overheld perishable item safe, and an unknown time history is not a reason to save it.
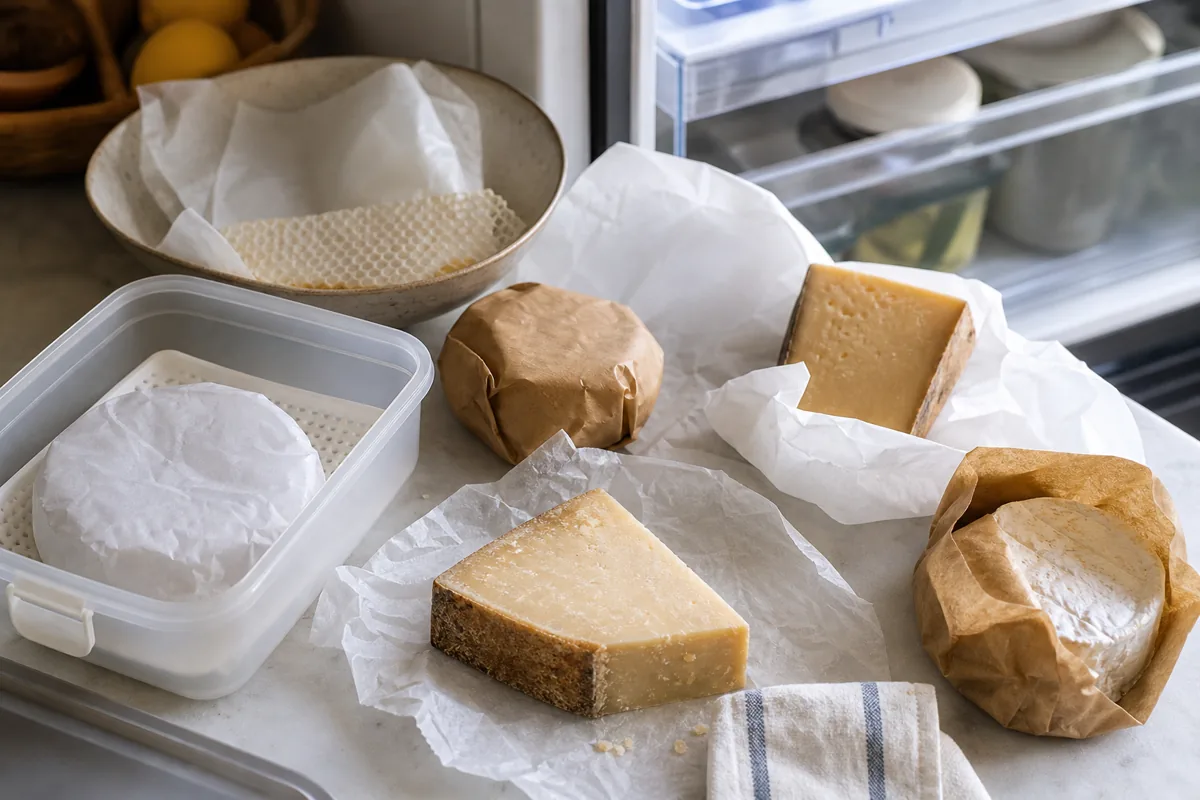
Wrap eligible leftovers separately and follow each product's storage instructions. See wrapping and refrigerating opened cheese for product-specific storage considerations.
SOURCES & REFERENCES
What Else Do People Ask About Building a Cheese Board?
Three contrasting cheeses are a simple starting point for a small gathering. More can work when the guest count and platter space justify them, without a fixed upper limit.
Place the cheeses first, then add bread or crackers, then fruit and nuts, and finally condiments. That order keeps the cheese visible and the layout easier to control.
Beringer suggests about 2 ounces total per person for an appetizer or 3 to 4 ounces for a main-event board. Adjust for appetite and the other food being served.
There is no single tempering time for every cheese or room. Include any warming period in the total room-temperature time limit explained above.
Yes, if you cover and refrigerate the perishable portions until serving. Keep crackers separate until the end so they remain crisp.